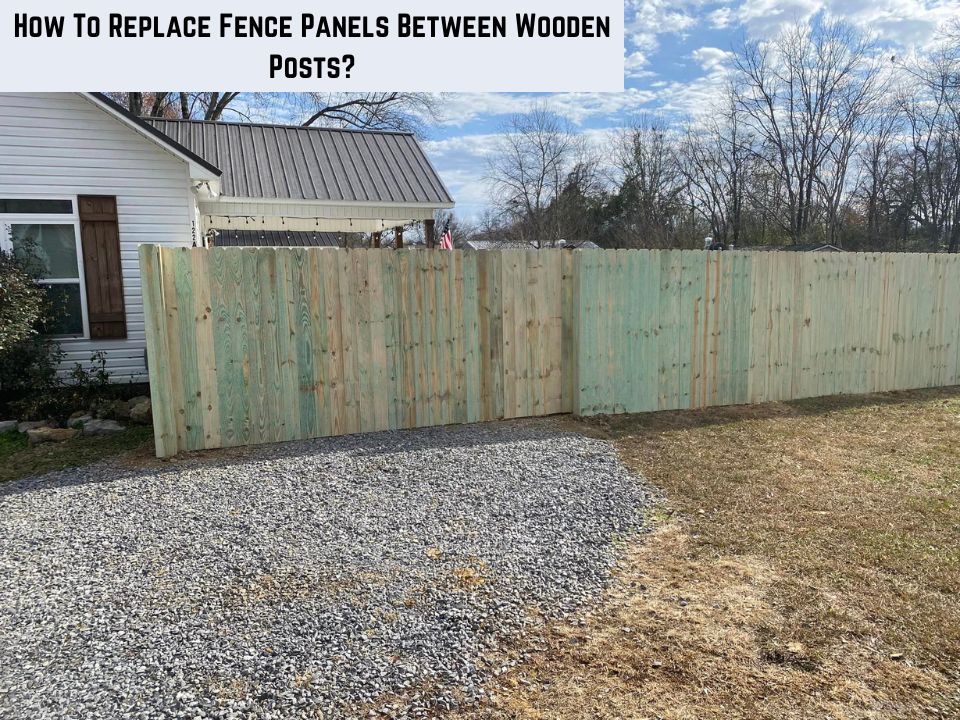
How To Replace Fence Panels Between Wooden Posts?
How To Replace Fence Panels Between Wooden Posts?
Want to know how to replace fence panels between wooden posts? It’s simple.
First, don’t forget to assess your fence’s condition. Then, remove the old panels by unscrewing or prying them off. Then, measure the space between your posts to get the right-sized panels. Attach the new panels using screws or nails. Make sure they’re level and secure.
Keep reading, I’ll guide you through the process of replacing fence panels step by step.
How To Replace Fence Panels Between Wooden Posts?
Here’s a step-by-step guide to help you get started and achieve a successful fence panel replacement.
| Step | Action | Notes / Tips |
|---|---|---|
| 1 | Assess the Fence | Check for cracks, rot, or loose boards; identify panels needing replacement. |
| 2 | Remove Old Panels | Unscrew or pry off panels carefully to avoid damaging posts. |
| 3 | Measure the Gap | Use measuring tape to get exact dimensions between posts. |
| 4 | Choose Replacement Panels | Pick panels that fit your measurements; consider material (wood, vinyl). |
| 5 | Position Panels | Place first panel level horizontally and vertically. |
| 6 | Attach Panels | Secure with screws or nails; ensure panels are stable. |
| 7 | Repeat | Install remaining panels, aligning them with the first. |
| 8 | Finishing Touches | Reinforce attachment, double-check alignment, tighten screws or nails. |
Materials Needed
- New Fence Panels
- Screws or Nails
- Measuring Tape
- Screwdriver or Drill
- Level
- Saw
- Safety Gear
- Optional: Fence Post Caps
- Optional: Paint or Stain
Assessing Your Fence
Before you begin replacing fence panels between wooden posts, it’s vital to assess your fence’s condition. Look for cracks, rot, or loose boards, and note which panels require replacement.
Remove & Choose Replacement Panels
When it’s time to replace fence panels between wooden posts, taking it one step at a time is important. Start with removing the old panels and selecting the right replacements. Here’s how:
Step 1: Remove old panels. Unscrew or pry them off carefully, ensuring no damage to the posts.
Step 2: Measure the gap. Use a tape measure to determine the space between wooden posts where old panels sat.
Step 3: Pick the right panels. Based on your measurements, choose new panels that match the gap’s dimensions. Ensure they fit well.
Step 4: Consider panel material. Decide on the type of panels, like wood or vinyl, that suits your needs and style.
Installing a New Fence Panel
With your replacement fence panels ready, it’s time to install them between the wooden posts. Follow these straightforward steps to ensure a secure and aligned installation:
Step 1: Position the first panel between the posts. Make sure it’s level both horizontally and vertically.
Step 2: Attach the panel securely to the posts using screws or nails. Ensure it’s stable and won’t wobble.
Step 3: Move on to the next panel, aligning it carefully with the first. Secure it to the posts as well.
Step 4: Continue this process until all replacement panels are in place. Double-check their alignment and stability.
This method guarantees a professional-looking and long-lasting replacement of fence panels.
Finishing Touches
As you near the completion of replacing fence panels between wooden posts, it’s time for those essential finishing touches.
Step 1: Use finishing nails or screws to reinforce the panels’ attachment to the posts. This extra stability goes a long way.
Step 2: Perform a thorough check for overall stability and security. Ensure panels are level and well-aligned.
Step 3: Inspect for any loose screws or nails and tighten them as needed. This maintains the panels’ integrity.
Step 4: Finally, take a step back and admire your work. Your fence now looks refreshed, secure, and ready to stand the test of time.
Future Maintenance Tips
Maintenance is key to the longevity of your newly replaced fence panels between wooden posts. Keeping your fence in top shape is simple with these future maintenance tips:
| Maintenance Task | Frequency | Purpose / Benefit |
|---|---|---|
| Regular Inspections | Every 3–6 months | Check screws/nails, prevent wobbling. |
| Cleaning | Annually or as needed | Remove dirt/debris to prevent damage. |
| Painting or Staining | Every 2–3 years | Protect wood from weather and moisture. |
| Pest Control | Ongoing | Prevent termite or pest damage. |
| Sealing Cracks | As needed | Prevent further deterioration and extend panel life. |
- Regular Inspections: Periodically check for loose screws or nails and tighten them to maintain stability.
- Cleaning: Remove dirt and debris to prevent damage. Use a gentle detergent and a brush for cleaning.
- Painting or Staining: If your panels are wood, consider repainting or staining every few years to protect against the elements.
- Pest Control: Keep an eye out for termite or pest damage and address it promptly to avoid costly repairs.
- Sealing Cracks: If you notice cracks, seal them to prevent further deterioration.
Note: Is it possible to replace fence panels between metal posts for fences? Yes, it is possible to replace individual fence panels between metal posts. This allows for convenient maintenance and customization of your fence.
Is Rotting Wood a Common Issue with Fence Post Replacement?
Rotting wood is a persistent problem faced during fence post replacement. However, by implementing preventive measures such as using pressure-treated wood, regular inspections, and applying wood preservatives, the longevity of fence posts can be enhanced. Taking proactive steps is vital to combatting the issue of preventing rotting fence posts.
When Should I Consider Repairing Instead of Replacing My Wooden Fence?
Making the decision of choosing between repair or replacement for your wooden fence depends on various factors. If the fence has minor damage such as cracks or missing boards, repairing can be a cost-effective option. However, if the fence is extensively damaged, with rot, warping, or structural issues, replacement may offer a longer-lasting solution. Consider the overall condition, maintenance costs, and your budget before finalizing your choice.
Can I Use Wood Fencing for Replacing Fence Panels Between Wooden Posts?
Yes, you can definitely use wood fencing to replace fence panels between wooden posts. The installation of wood fencing is a popular choice for homeowners looking to enhance their property’s privacy and aesthetics. By simply removing the old panels and attaching new ones, you can seamlessly revitalize your existing fence while maintaining its structural integrity and natural charm.
Summary
Replacing fence panels between wooden posts is a manageable DIY project to enhance your property’s appearance and privacy. By following the step-by-step guide, assessing your fence, and adding those crucial finishing touches, you’ll achieve a professional-looking and long-lasting result.
Don’t forget the future maintenance tips to keep your fence in top shape for years to come. With these guidelines, your fence will stand strong and continue to enhance your outdoor space.
FAQ
How do I know when a fence panel needs to be replaced instead of repaired?
If the panel is cracked, warped, rotten, or severely damaged, repairs won’t hold long. Visible structural weakness or sagging indicates replacement is necessary for safety and aesthetics.
Can I replace just one fence panel without replacing the entire fence?
Yes, individual panels can be replaced if posts are still solid. Ensure the new panel matches in size, style, and color for a seamless appearance.
What types of fasteners should I use to secure new wooden fence panels to existing posts?
Use galvanized or stainless steel screws or nails. They resist rust and corrosion, providing durable support while preventing future staining or weakening of the wood.
How do I prevent future problems like rotting or insect damage once the new panels are installed?
Treat wood with sealant or preservative, maintain proper drainage, avoid soil contact, and inspect regularly. Preventive care extends fence life and deters insects or moisture damage.
Do I always need to replace fence posts when replacing the panels?
Not always. Replace posts only if they are rotten, loose, or structurally weak. Solid posts can support new panels, saving time and cost.